Troubleshooting hub
Browse more sleeve applicator and shrink tunnel fault guides.
Open page →Troubleshooting
Use this guide when you are seeing film splitting at seams, perforations or high-shrink areas during tunnelling. It explains the practical checks that help separate sleeve, container, applicator and tunnel causes.
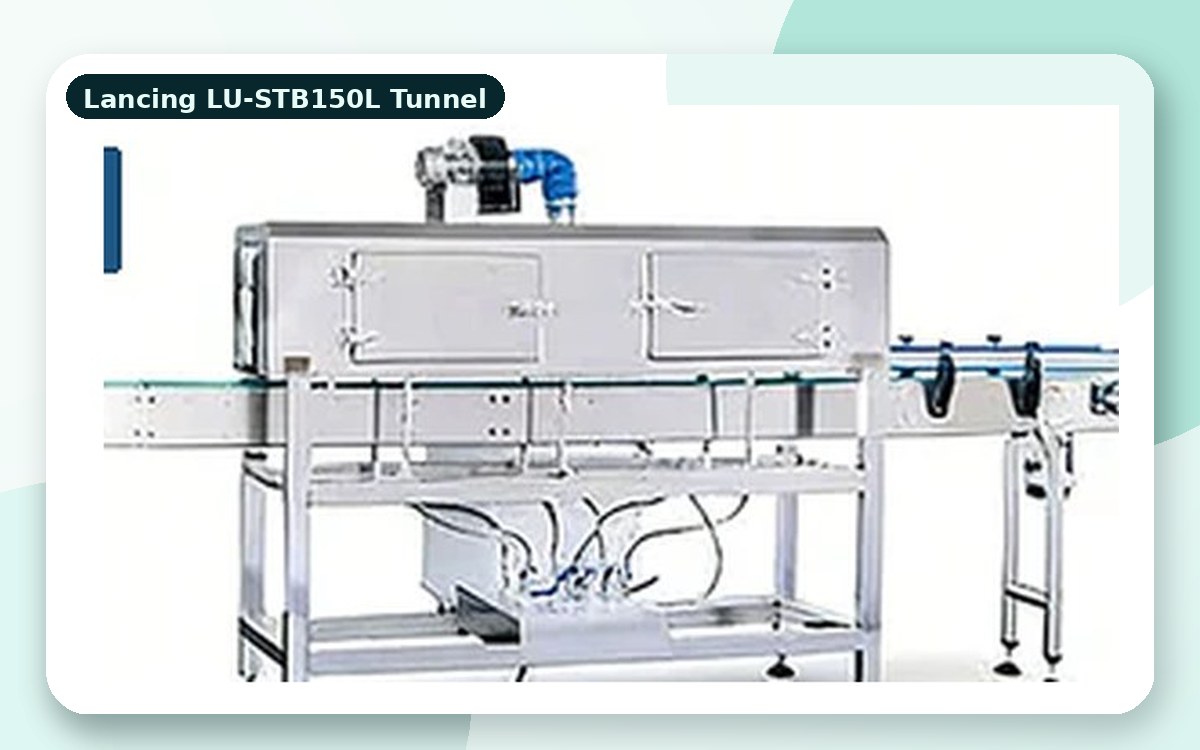
Quick diagnosis
This page focuses on film splitting at seams, perforations or high-shrink areas during tunnelling. The best fix is normally found by checking the applied sleeve before the tunnel, then checking the shrink result after the tunnel, rather than adjusting everything at once.
Likely causes
Most sleeve faults are caused by the interaction of sleeve material, container geometry, product handling and tunnel settings. A repeatable test procedure avoids chasing the wrong cause.
Practical checks
Use production containers and sleeves wherever possible. Empty samples, old reels and hand-applied sleeves can hide the fault that appears on the running line.
When to review specification
If the same fault appears after controlled setup changes, the project may need a different former size, revised sleeve layflat, altered sleeve material, improved product handling, or a tunnel better matched to the container shape. Lancing can review samples and the target output before suggesting changes.
Related pages
These pages connect this search to the machine type, application route or enquiry checklist most likely to help with selection.
Browse more sleeve applicator and shrink tunnel fault guides.
Open page →Compare tunnel routes for heat, steam and application finish.
Open page →Collect the details needed for a practical machine recommendation.
Open page →FAQ
Yes. Send photos, sample details and the target output. Lancing can review whether the issue is likely to be sleeve material, application setup, product handling or shrink tunnel settings.
Check the sleeve position before the tunnel first. If the sleeve is already wrong before shrinking, tunnel changes will not solve the root cause.
Keep good and bad finished packs, unshrunk applied packs, sleeve reel labels and a note of machine speed, tunnel settings and container batch.
Project support
Lancing can review the container, sleeve material, tunnel route, output and integration requirements before suggesting a suitable sleeve applicator configuration.