Verify codes after shrinking
Plan fixed barcode position, distortion and finished-pack verification.
Open barcode guide →Coding and traceability
Choose where variable data is printed, prove it through the shrink process and connect the coder, inspection and reject sequence to the same pack.
Direct answer
Date, batch, lot, expiry, barcode or 2D codes may be printed on the sleeve, the container or the closure, before or after shrinking. The correct position depends on the sleeve surface, coating, tunnel exposure, pack geometry, code size, line layout and inspection method. Prove the selected method on cooled finished packs made with the intended production film and tunnel process.
The coding decision should be made before the applicator and tunnel layout is frozen. It can affect conveyor length, product detection, printer mounting, extraction, guarding, camera position, reject distance and control signals.
Process choice
Substrate and tunnel interaction
Shrink-sleeve surfaces vary. Film family, ink coverage, varnish, reverse printing, surface treatment, condensation and the local shrink curve can all change print adhesion and contrast. A successful room-temperature print on an unshrunk sleeve does not prove that the mark will remain readable after heat, steam, cooling and handling.
Do not select a coding method from the film name alone. Obtain a representative printed sleeve, run it through the proposed process and assess the finished code using the product owner’s acceptance method.
Controls and inspection
The controls should identify the container, trigger the correct message, track the pack to inspection and reject the same pack when the result is missing or unacceptable. Product gaps, double feeds, manual removals and line stops between print and inspection should be included in the acceptance test.
Where a fixed artwork barcode and a variable production code both appear on the sleeve, define separate checks for each. Use the barcode quality and verification guide for the fixed symbol and the controls, sensors and rejects guide for pack tracking.
Buyer questions
They can be suitable for some films and line positions, but the ink, coating, print surface, tunnel exposure and required durability must be tested. Use the actual production sleeve and inspect the cooled finished pack rather than relying on a generic substrate list.
Neither position is universally better. Coding before the tunnel may offer a controlled print point but exposes the mark to shrink and heat or steam. Coding after the tunnel avoids that exposure but may require cooling, drying and printing on a curved finished surface.
Potentially, provided the symbol size, quiet zone, contrast, distortion and verification requirement are maintained on the finished pack. Keep the code away from unstable shrink zones where possible and confirm performance with the applicable verifier or inspection method.
It can. Heat, steam, moisture, film movement and cooling can change adhesion, contrast and shape. A complete trial should assess the code after the pack has passed through the real tunnel process and normal downstream handling.
Send containers, closures, production sleeves, artwork, code content, preferred code location, line-speed range, tunnel details, existing printer or camera information and the required reject or stop response.
Related guidance
Plan fixed barcode position, distortion and finished-pack verification.
Open barcode guide →Define sensors, line signals, pack tracking and reject confirmation.
Open controls guide →Check conveyor space, interfaces, guarding, utilities and commissioning.
Open retrofit guide →Project support
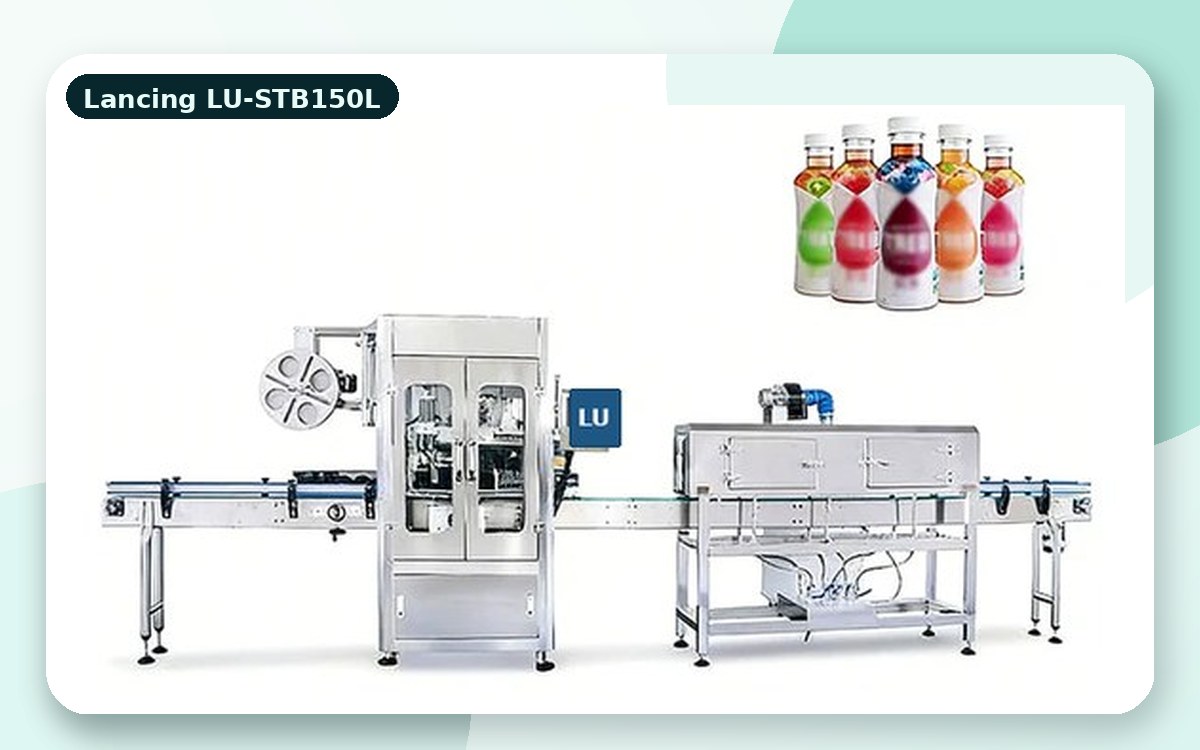
Lancing can review the pack, sleeve, tunnel, code position, printer interface, inspection duty and line layout before a sleeve applicator configuration is finalised.